Starting any hobby as a beginner can be really intimidating… lucky for you, if you’re wanting to start cross stitching, I’m putting together a handy dandy guide to get you started. I’ll be updating this guide every so often, so any feedback is appreciated.
Now, let’s get started…
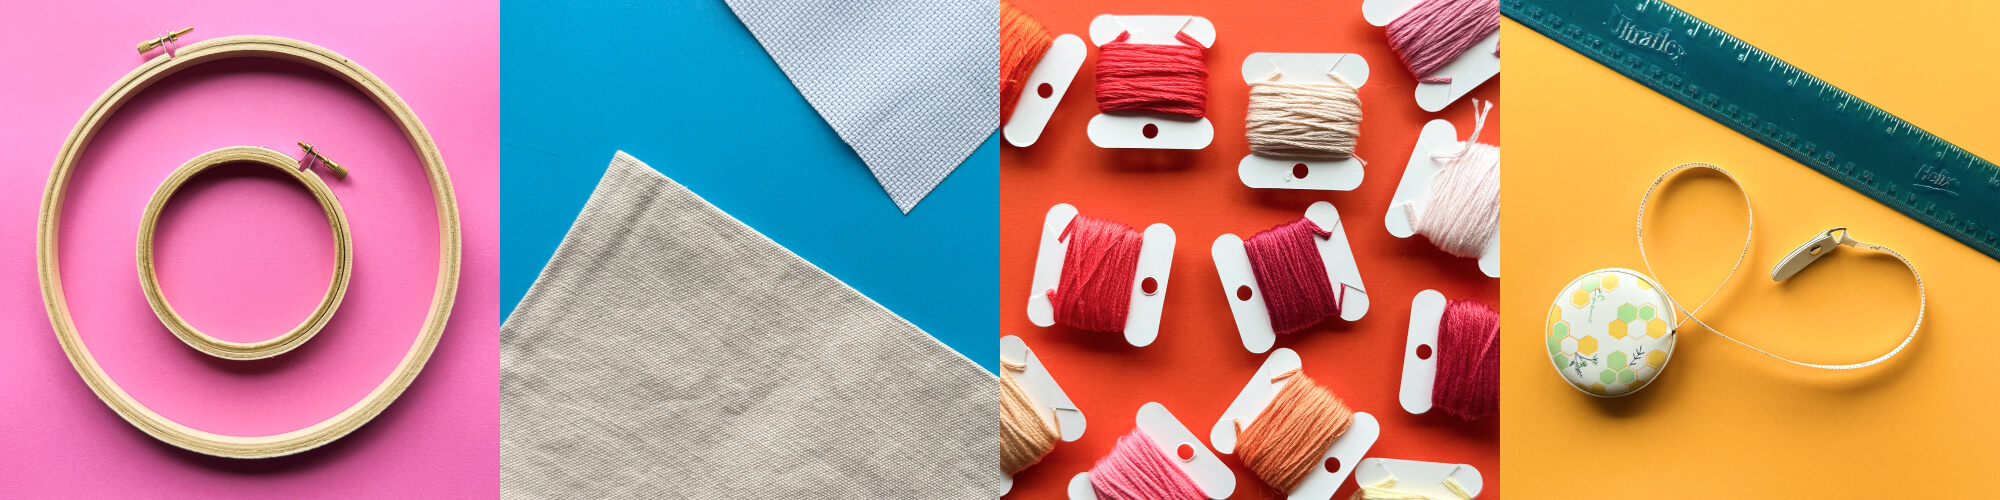
Supplies You’ll Need to Start Cross Stitching
Embroidery Hoop
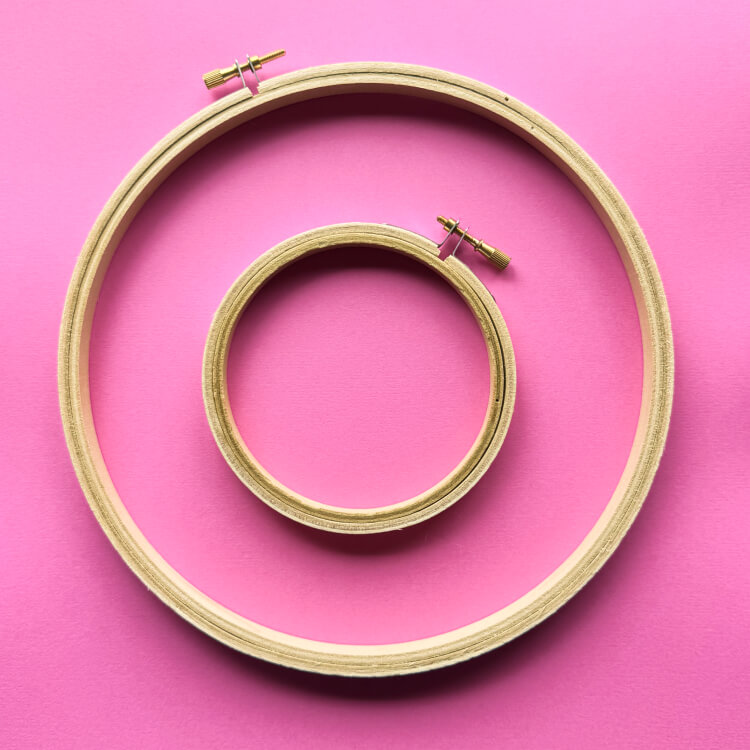
You can get a hoop in any size you want. Personally, I prefer smaller hoops (5″ and under) because I find them easier to hold. Bamboo is a very popular material for hoops, but you can also find plastic ones as well.
For the hoop shape, you’ll see a lot of circles, but you can find more unique shapes to use to display final pieces once you’re done with your project.
Fabric
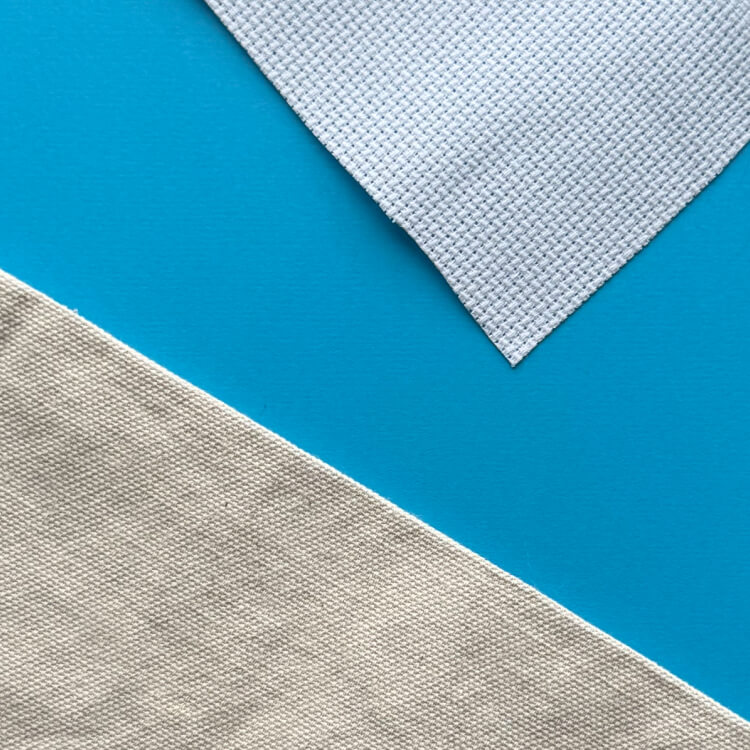
If you’re just beginning, then Aida will be the easiest fabric for you since it’s woven in a clear grid, making it easy for you to see where the holes should go. Just be careful when buying Aida online, some brands are much stiffer than others. I learned this lesson when I bought some cheap Aida cloth off Amazon and it cracked my hoop when I tried to place it inside…
You can also use other fabrics like linen or Evenweave, though they may be more challenging for beginners. Evenweave generally has a smaller grid to it and is softer than Aida. So, it has a more professional look than Aida.
Linen doesn’t have a nice, even grid. This makes it a very challenging fabric to cross stitch on, but will have a nice artistic look.
Embroidery Floss
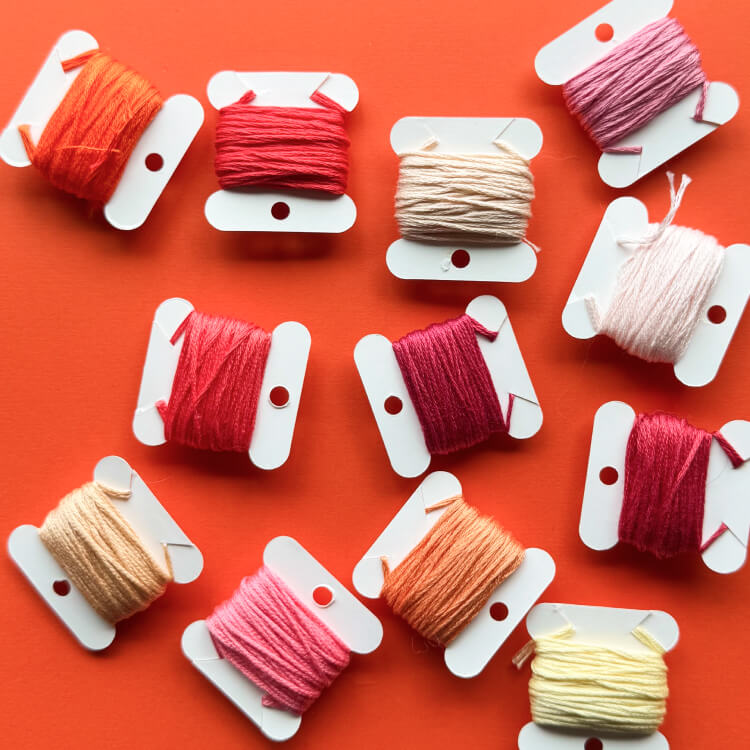
Next you’ll need the actual floss you’ll be using. The best kind to use is 6-strand embroidery floss.
DMC is the most common brand, and the one I personally use, but there are several others like Anchor that are popular depending on where you live. Every pattern on this site uses DMC, and there are charts that exist to help you convert between the different brands so you can find the same (Or very similar) color in different brands.
Scissors, Measuring Stick/Tape and Needles
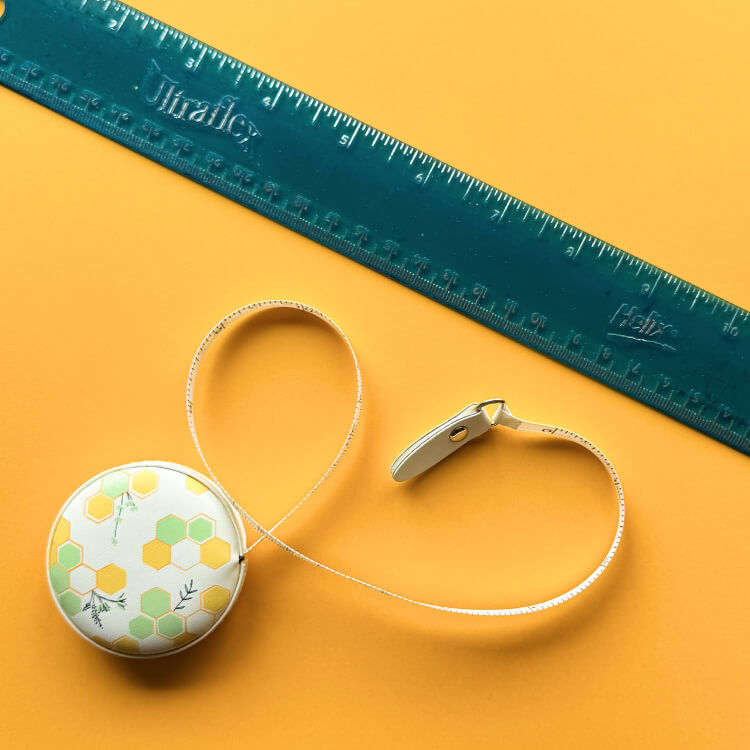
You’ll need scissors so you can cut your string. Smaller pairs are generally better because it’s easy to be more precise with them.
You’ll also need a measuring tape so you can measure and cut your length of floss and fabric.
Lastly, needles are very important and the size you use will depend on the size for your project. See the list below for recommended needle sizes:
- 6-Count Aida: Size 18 Tapestry Needle
- 8-Count Aida: Size 20 Tapestry Needle
- 11-Count Aida: Size 22 Tapestry Needle
- 14-Count Aida: Size 24 Tapestry Needle
- 16-Count Aida: Size 26 Tapestry Needle
- 18-Cound Aida: Size 28 Tapestry Needle
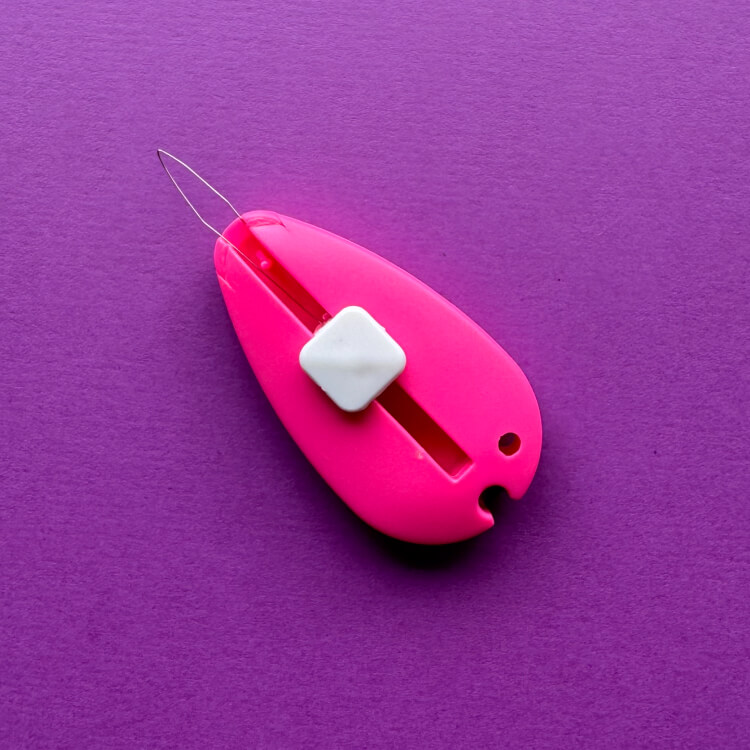
Optional: Needle Minders and Needle Threaders
Needle minders help you keep track of your needles when they aren’t in use. Many of them come with magnets, in every color you can think of.
Needle threaders are a huge time saver if you have trouble threading floss through a needle! Mine has saved me lots of frustration.
How To Read A Pattern
Some patterns just have a grid, good patterns will have numbers next to the grid so you can more easily count where you’re at.
Patterns mainly come in three forms:
Solid Color Pattern Example
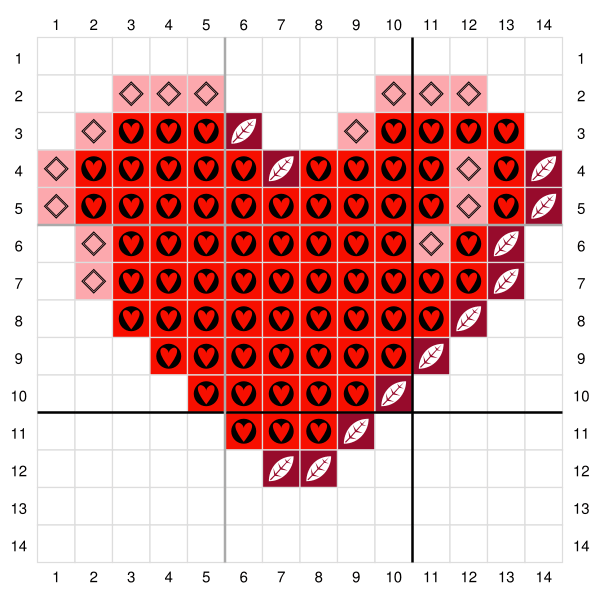
Solid Colors & Symbols Pattern Example
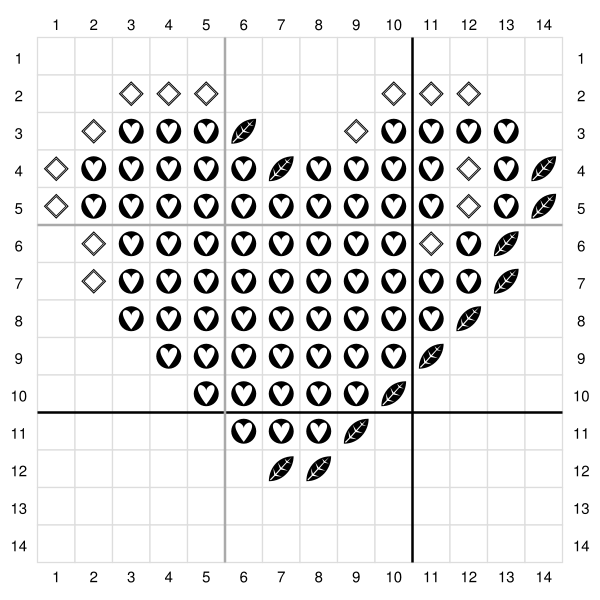
Symbols Only Pattern Example
Some people just pull up patterns on their computers or iPads, some find it help full to print patterns off and cross off stitches they’ve already completed.
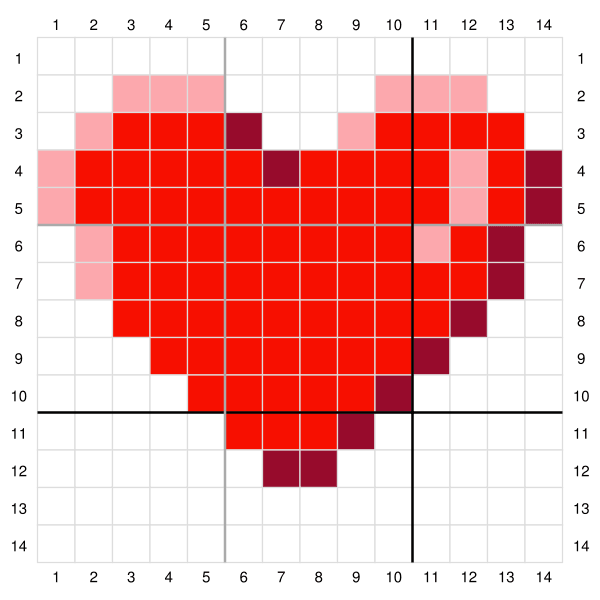
Where To Place Your First Stitch
First, you’ll look at your pattern to find the center stitch. If you’re looking at a 28×28 pattern, you’ll find the square located in the 14th row and 14th column. Then, take a ruler or measuring tape and spread it across the center of the hoop to find the center of your fabric. You can then mark this spot with a water soluble marker or just stitch your first stitch.
How to Start Your Stitch
There are several methods you can use to start your stitch. Many people just make a knot at the end of their floss. I personally did it this way for a long time until I learned other methods.
You can read about several different methods by clicking here.
How To End Your Stitch
After you’re done with your stitches, you’ll need to secure the end of your floss. You can easily do this by weaving the thread under your existing stitches.
If you didn’t leave yourself enough thread at the end to really secure it, you can always dab a very small amount of fabric glue on the back.
After Your Project Is Done
After your project is complete, you can keep it in the hoop as is, or you can place it in a frame. If it’s a small project, you can turn it into a badge/patch or cute keychain. There are tons of fun ways to display your art.